Many tradies think roof ventilation is just a simple add-on to a job: cut the opening, fit the whirlybird and move on. Unfortunately, this is where problems start. The wrong unit, poor placement, limited intake airflow or a rushed flashing job can leave the system doing very little for your client. The result? Leaks, noise complaints and every tradie's worst nightmare: expensive call-backs!
A whirlybird is not a magic fix. If you want it to work well as part of a planned ventilation system, you need to consider the roof size, layout, intake points, site conditions and much more.
This guide is for roofers and contractors who want to specify whirlybird roof ventilation for their upcoming jobs. We will run through how whirlybirds work, when to recommend them, how to work out the right quantity, where to position them and which installation mistakes to avoid. By the end of this article, you will be able to quote more accurately, install with confidence, leave your clients with a system that performs as intended, and say adios to callbacks!
A whirlybird is a rotary roof ventilator that uses wind to spin and draw warm, stale or moisture-laden air out of the roof space. As hot air rises, that movement can also support passive airflow, even when conditions are not windy. The Australian Government's Your Home guidance on ventilation and airtightness highlights how important it is to direct exhaust air outside rather than allowing moisture to enter the roof space. Standard whirlybirds get this job done, and they don't need any wiring, electricity or power, which makes them a great add-on for many roofing jobs!
That said, the turbine is only half the system. Any air being extracted needs to be replaced through suitable intake points, such as eave, soffit, gable or purpose-designed vents. Treating a whirlybird as a standalone fix can lead to poor results, especially when insulation or blocked vents restrict air.
Adding extra roof vents will not automatically solve the problem either. If the intake and exhaust are not balanced, the system can still underperform. Good ventilation comes down to airflow through the roof space, not just the number of turbines fitted! We'll explain more about this as we go through this guide.
A whirlybird is a fantastic option when your project calls for simple, passive roof ventilation without adding electrical work or ongoing power costs. The key is to match the unit to the roof configuration, airflow path, and client brief rather than treating it as a default add-on.
A whirlybird is worth recommending for:
A whirlybird might not be the best or only solution where there is:
In these cases, a more detailed project assessment will be needed before finalising the system specification. The right answer could involve additional intake vents, multiple ventilation zones or a powered extraction system instead!
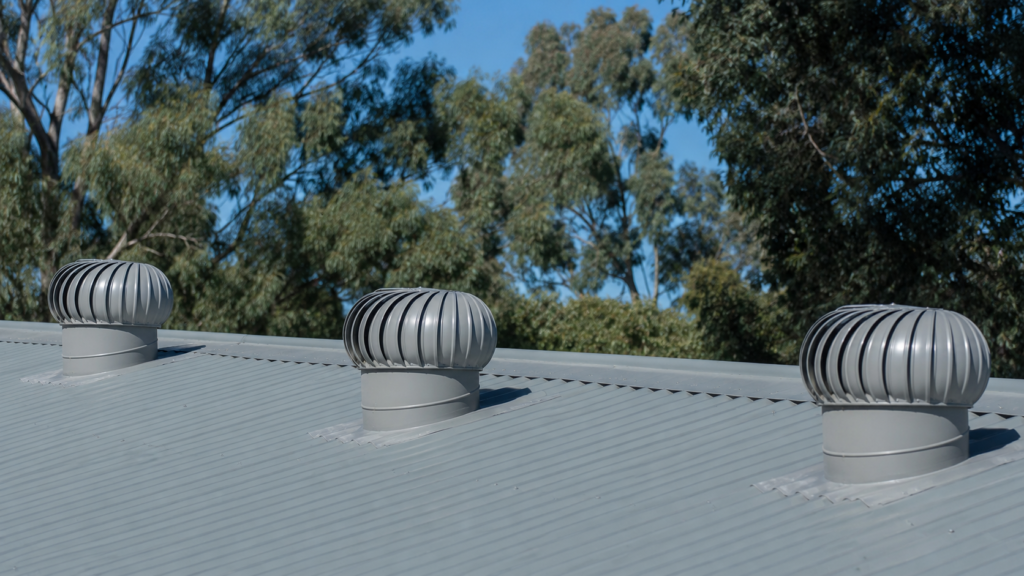
There is no universal answer to this one. The right quantity depends on the roof, the ventilator and the problem you are trying to solve. Factors to check include:
You will see a lot of differing quantity rules online. Some suggest one whirlybird per 50 square metres, while other sources recommend closer to one per 90 square metres. That difference is exactly why square-metre rules should only be used as a rough estimating tool!
If you want to get the quantity right, the best thing to do is check the selected manufacturer's model-specific guidance and look at the entire airflow path, including where replacement air enters. Divided roof cavities should be assessed separately, as one unit might not ventilate every section effectively.
It is also best to avoid promising a fixed temperature reduction to your clients based solely on unit count. For large warehouses, factories or unusual roof layouts, speak with the supplier before finalising the system specification.
Trade Specification Checklist:
Whirlybirds should be positioned near the higher parts of the roof, where warm air naturally collects. On pitched roofs, ridge-adjacent placement is common, but the full roof configuration still needs to be considered.
When fitting multiple units, spread them across the roof zone rather than clustering them together. Check for hips, valleys, firewalls, ceiling divisions and changes in roof height, as these can restrict airflow between different sections. It's also advisable to avoid locations where nearby buildings, parapets or other structures shield the turbine from wind.
The intake side matters just as much! Eave, soffit or other intake vents should encourage air to move through the roof space, not enter and exit through points positioned too closely together. Insulation must also be kept clear of intended intake paths.
Don't forget to allow space for solar panels, skylights, safe roof access and future maintenance. Clients might prefer rear-roof placement for appearance, but looks should not override a sound ventilation design!
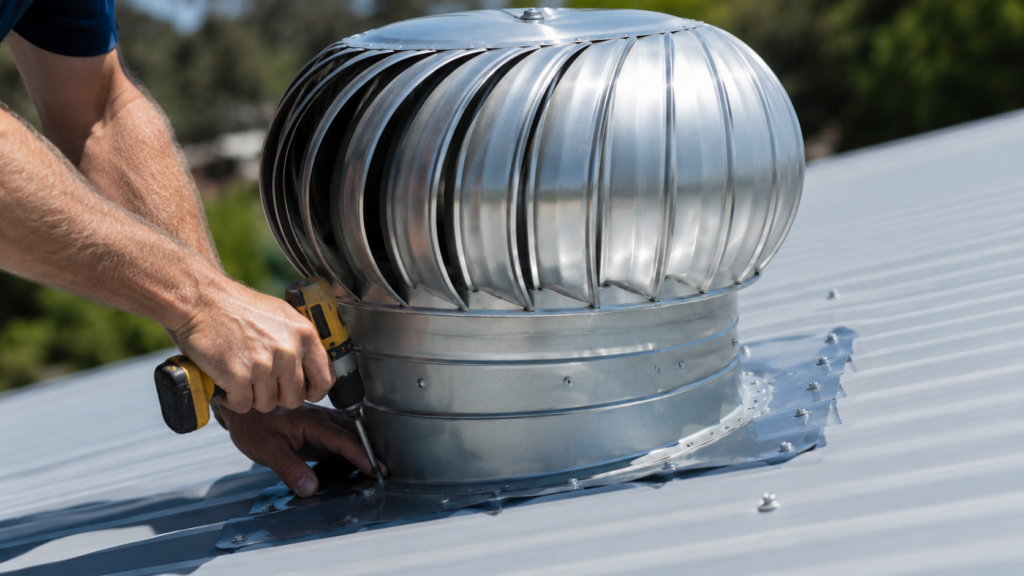
The roof type changes the install, so the base, flashing and fixing method need to suit the job. Here's how to install whirlybirds on the most common roof types:
Corrugated and profiled metal roofing: Match the base and flashing to the roof profile, keep drainage paths clear and ensure the turbine is correctly oriented and level. You will need to take extra care with low-pitch roofs, concealed services and insulation, and follow approved manufacturer methods.
Concrete and terracotta tiles: Select the right tile course, avoid unnecessary damage and secure the base properly. Weatherproof the penetration, replace cracked or disturbed tiles, then check the unit is level and spins freely.
Flat and commercial roofs: Confirm membrane compatibility, waterproofing details, wind exposure, internal heat loads and the number of ventilation points required. Plan for safe access, edge protection and future maintenance. Larger or higher-load projects may also need mechanical ventilation.
For trade jobs, it's best to source whirlybirds from suppliers that offer tiled, metal, and commercial models, including larger 750 mm factory units and supply-only options.
Here are the top 4 reasons roofers get call-backs after installing roof ventilation, and how to prevent these issues:
Yes, it does! And where you buy from makes a real difference. Before specifying a unit, compare the turbine diameter, stated airflow capacity, bearing construction and corrosion resistance. You should also check whether it suits coastal or harsh conditions, whether the base is adjustable, and whether it matches the roof profile.
Colour options, spare-parts availability, product and installation warranties, technical support, supply lead times and bulk-order options also matter, especially on larger or repeat jobs.
Australian-manufactured whirlybirds are a great choice because they are built for local conditions and often come with easier access to warranties, parts, and technical advice. Many suppliers also offer domestic and factory-sized models, adjustable installation features and trade supply options!
For roofers and tradies, the best unit is not simply the cheapest one. It is the one that suits the job, installs properly, performs reliably and helps keep you off the call-back list.
Hopefully this guide has helped tradies and roofers feel more confident specifying whirlybird roof ventilation, and wishing you success with your upcoming jobs!